This is a guide which shows you the steps taken to create the Microsoft Excel example for the Instant Protection PLUS 3 DLL. This sample was created in Microsoft Excel 2013. The instructions would be similar for older versions of Microsoft Excel.
Microsoft Office applications (such as Word, Excel, Access, etc...) may run in a ClickToRun environment. This environment has known limitations that make it problematic for licensed Office add-ins and macros to use global locations. Consequently, licensed add-ins and macros that target these environments should only use user-specific locations for licenses and aliases. See this knowledge-base article for more details.
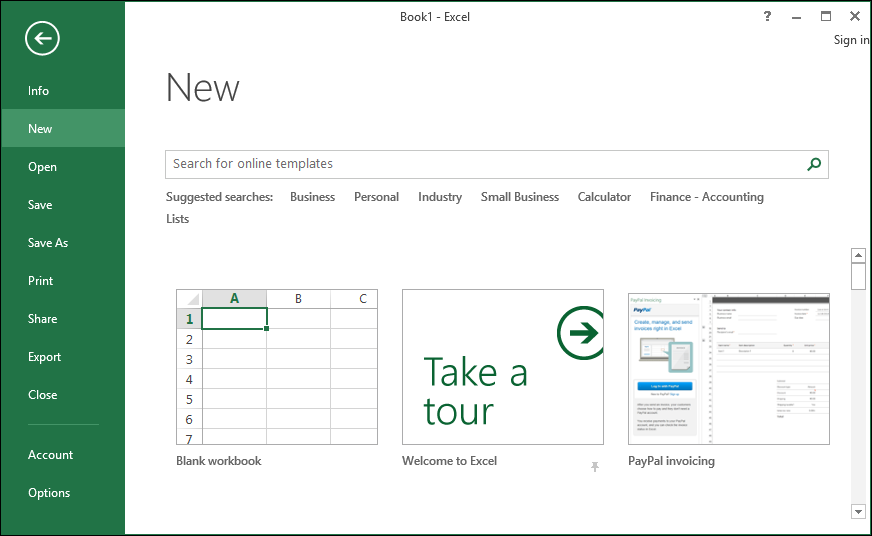
Open Microsoft Excel and select Blank workbook from the available templates.
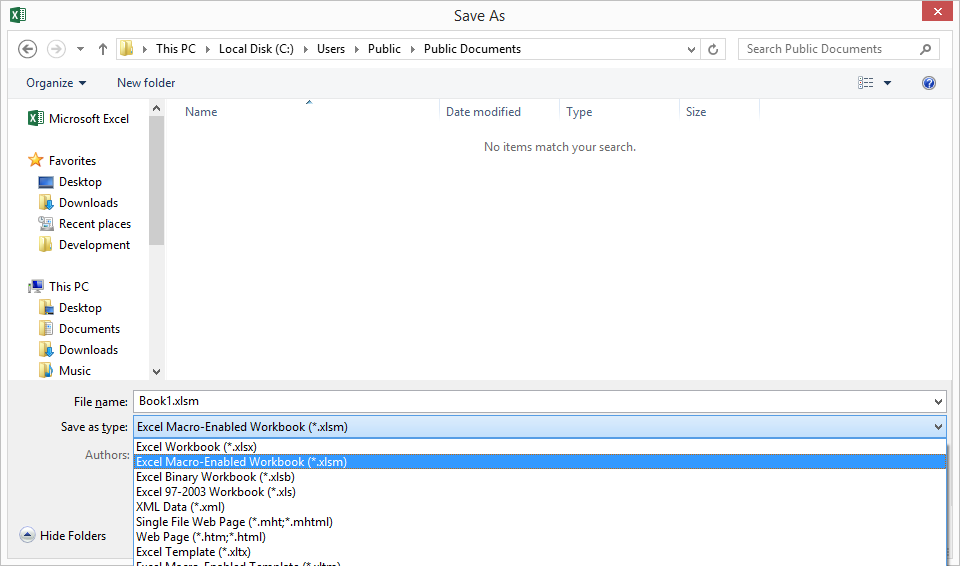
To save your workbook as a macro-enabled workbook, click File, Save As, and Browse. Enter a file name and change the “Save as type” to Excel Macro-Enabled Workbook (*.xlsm) or Excel Macro-Enabled Template (*.xltm), depending on your project type.
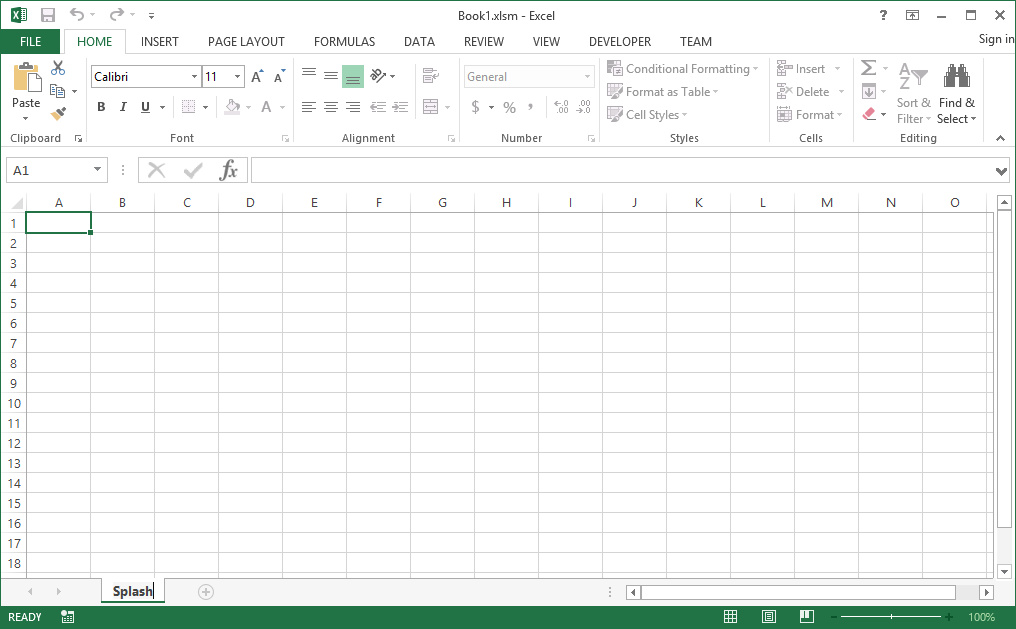
To create a splash screen displaying a message, rename your worksheet to “Splash” by double-clicking on “Sheet1” near the bottom-left of your application window. Add additional worksheets by clicking the + to the right of your worksheet’s name or by pressing Shift+F11.
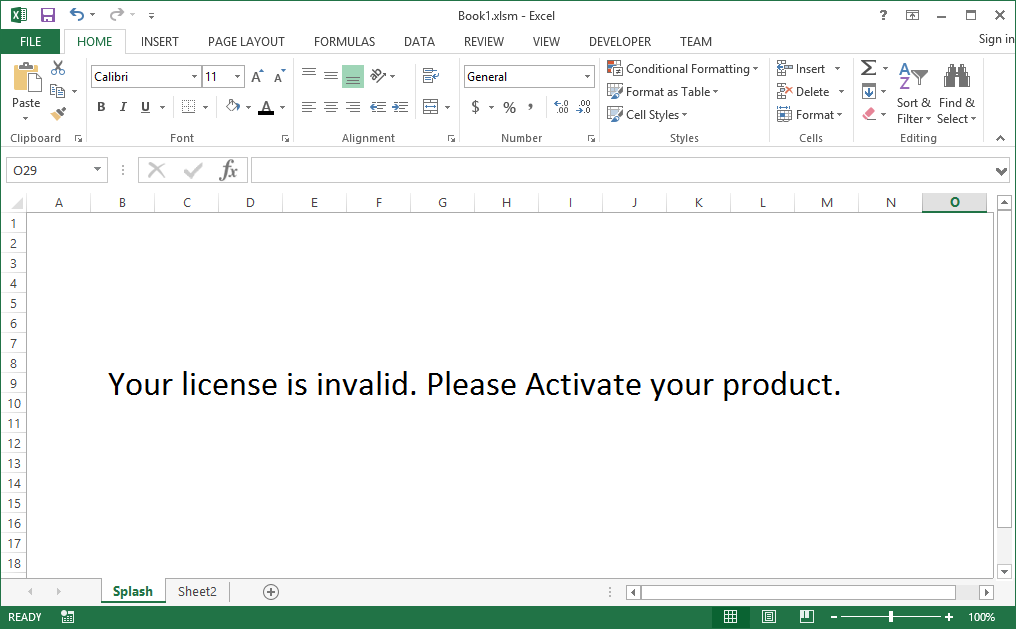
Edit the “Splash” worksheet to display a message to users if their license has not been validated.
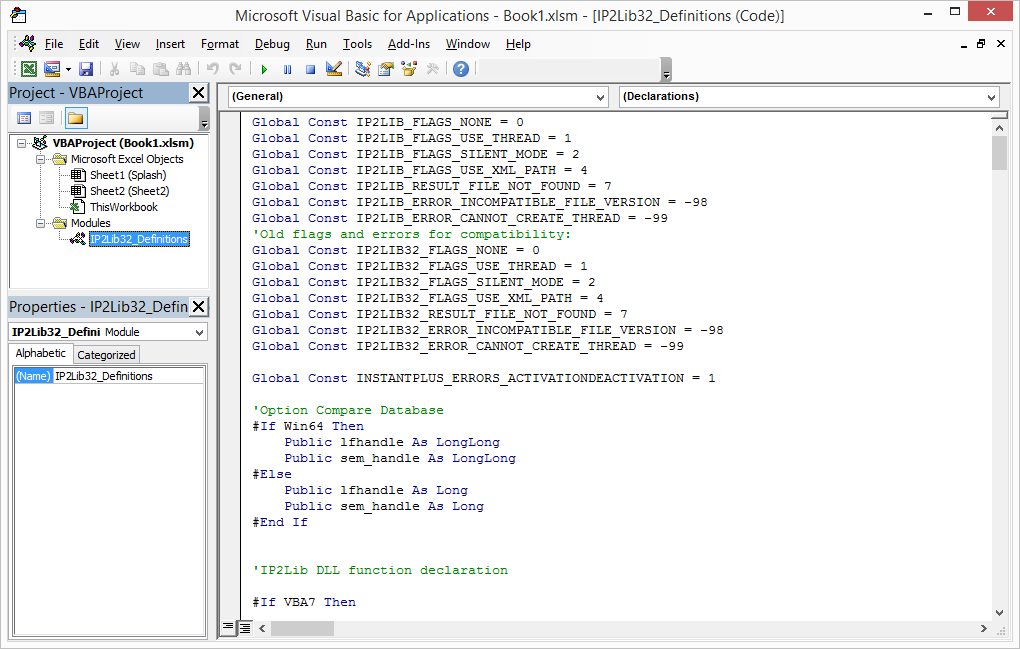
Open the VBA editor (Alt+F11). Right-click VBAProject from the Project Explorer and choose ‘Import File…’. Browse to the ..//Instant Plus//Samples folder select the IP2Lib32_Definitions.bas module and click ‘Open’.
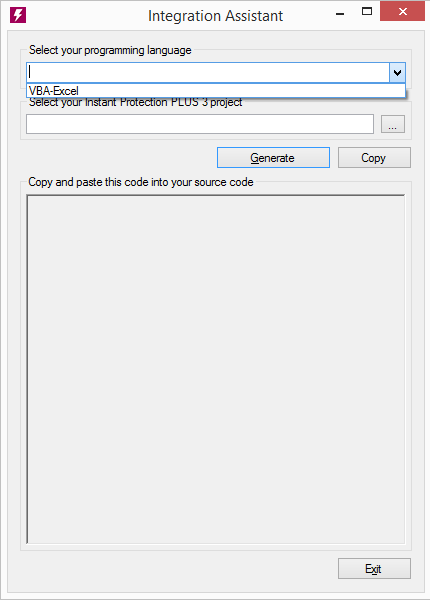
In the Integration Assistant, click the drop-down list and select VBA-Excel as your programming language.
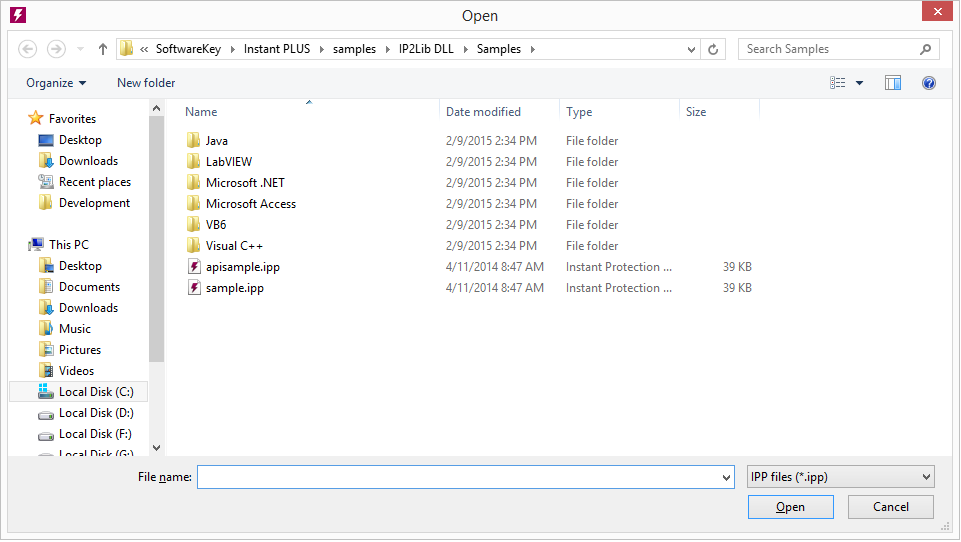
Click the "..." to browse for the newly created Instant Protection PLUS 3 (*.ipp file).
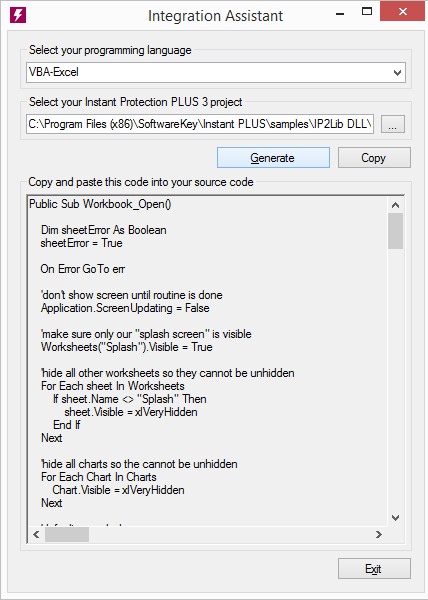
Click Generate to render the source code for the Workbook_Open macro you will need to copy into your workbook.
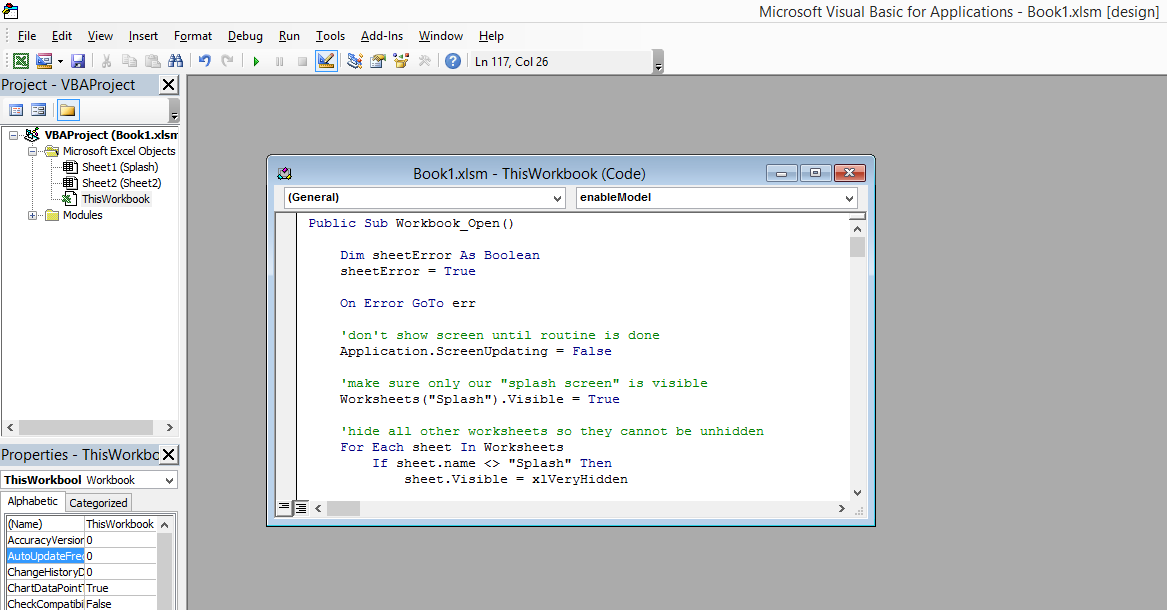
Return to your Excel project’s VBA project explorer. Double-click ThisWorkbook in your VBAProject. Paste the source code generated in the Integration Assistant. If necessary merge in with any previous macros.
Save your changes and close the VBA Editor. Close the unprotected workbook. You should see all worksheets disappear and only the "Splash" screen should be visible. Click Yes to save your changes.
It is very important that you take measures to prevent users from viewing and editing your VBA macros. Microsoft Excel includes functionality for protecting this code, so we strongly recommend you read more about protecting your macros, and protecting your worksheets/workbooks.
Open Excel, go to File, Open, browse to your workbook and open. Enable Macros if prompted. Your Workbook_Open Macro calls the Instant Protection PLUS 3 DLL to check the license.

The application must be properly deployed in order to function correctly on a 'clean' machine that has not previously had Instant Protection PLUS 3 installed. The Instant Protection PLUS 3 DLL library files must be installed to the system directory along with any custom splash screen or product logo images. It is recommended to use a helper executable to initialize the license files to avoid permissions issues on Windows Vista and later. These requirements are described in detail in the Deployment topic.