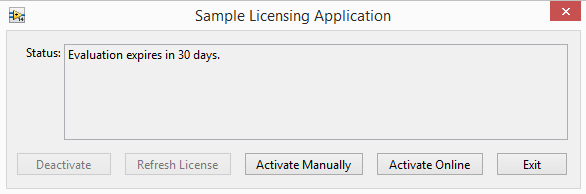
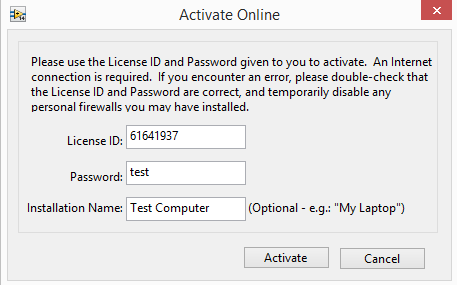
To activate the Sample Licensing Application automatically using SOLO Server, click on Activate Online. A new dialog will prompt for a License ID and Password (both are required). Specifying an installation name is optional, but helpful when performing multiple installations for different machines and/or users.
For ease of use, all of the Protection PLUS 5 SDK sample applications use a generic Test Author account with its own Encryption Key ID. We will use this Test Author account on SOLO Server to generate the License ID and password necessary to activate the Licensing Sample.
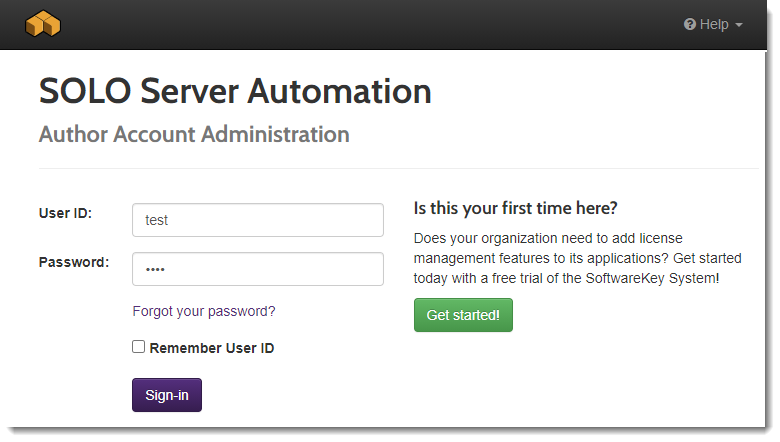
To log into SOLO Server, use the Test Author credentials:
- User ID: test
- Password: test
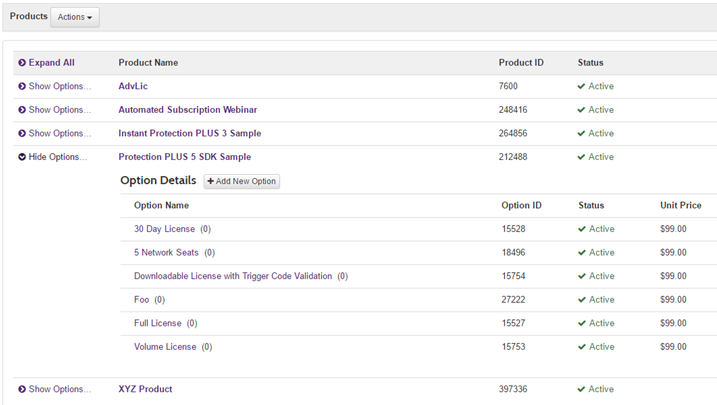
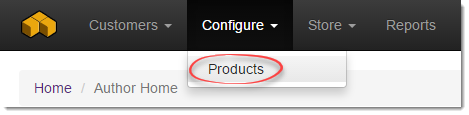
Once logged in, go to the menu Configure / Products.
The Product List page will show all of the products available to the Test Author. Expand "Show Options" beside the Protection PLUS 5 SDK Sample product. The Option Details show different Product Options for activating the Licensing Sample application. For this tutorial, we will generate a license for the Full License.
Creating the License
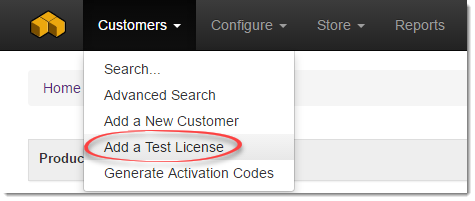
To add a test license, go to the menu Customers / Add Test License.
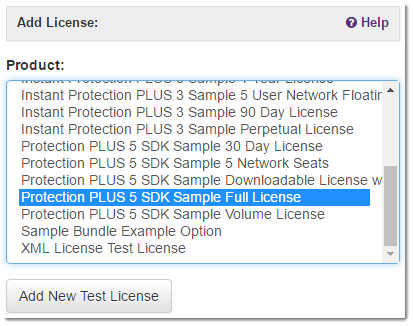
Select the Protection PLUS 5 SDK Sample Full License and click Add New Test License.
On the Add Test License page, do not change the default values and click Add License.
Test Licenses are meant for software development integration and testing purposes ONLY and should never be sent to a real customer. Test Licenses are DELETED from the license database on the first day of every month.
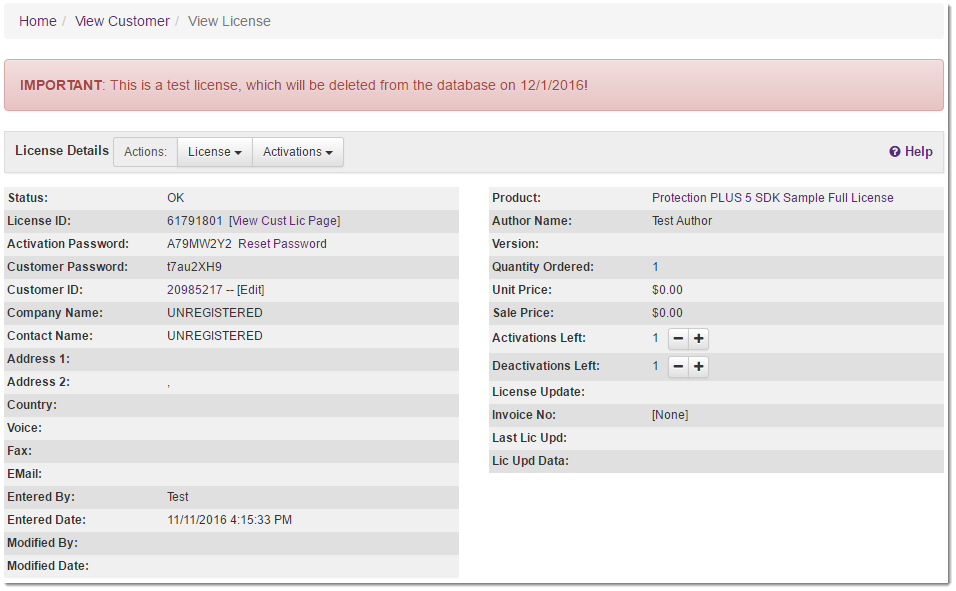
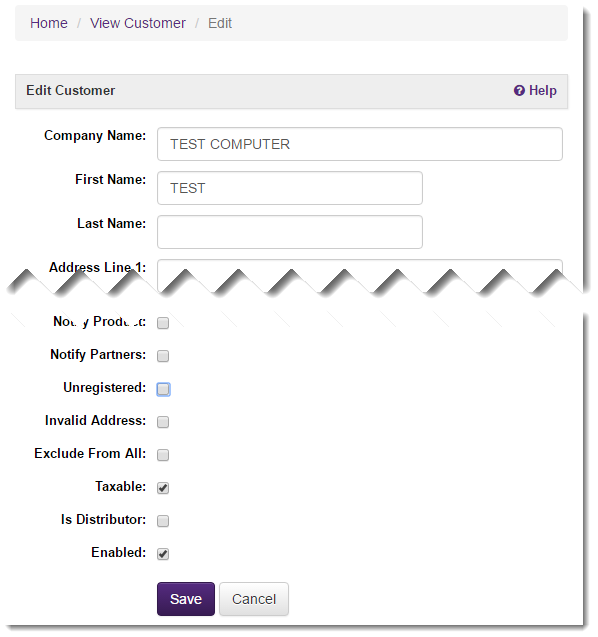
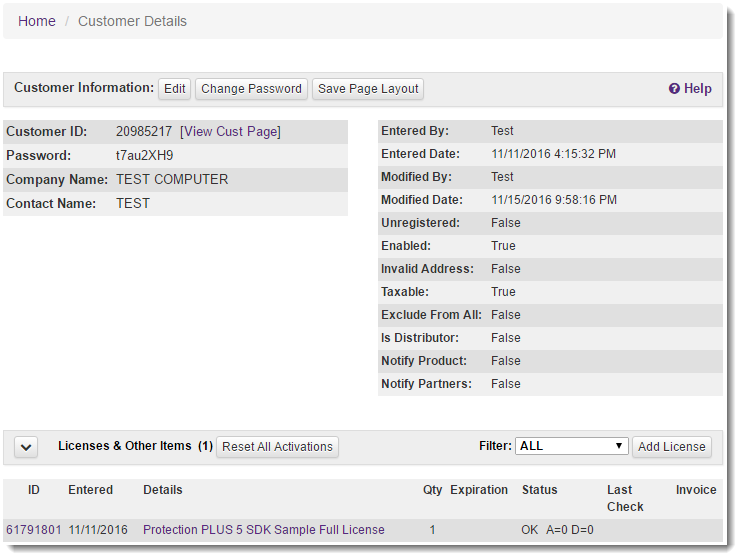
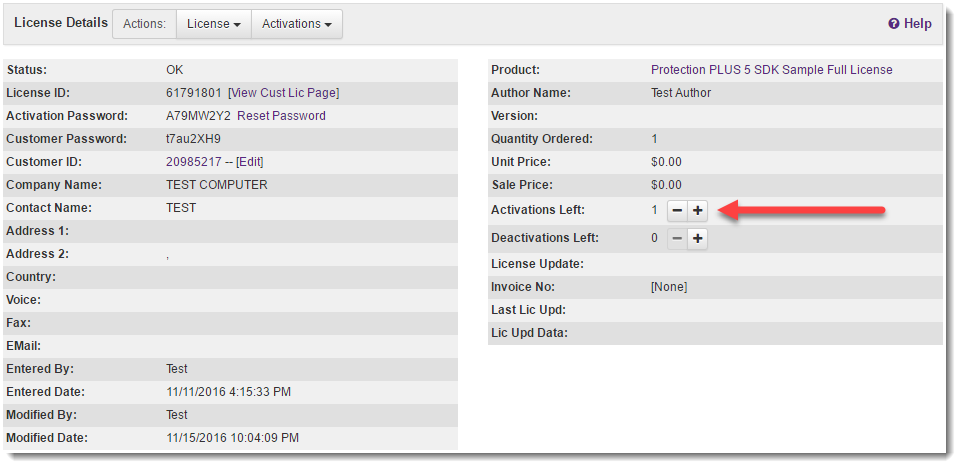
The test license has now been created based on the Protection PLUS 5 SDK Sample Full License Product Option settings and attached to a new, unregistered customer record.
Click on the License ID in the Licenses & Other Items section to load the License Details page.
Activating with the License
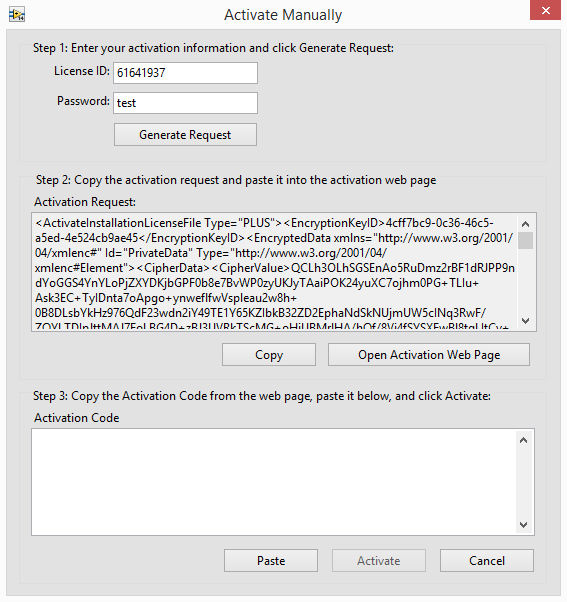
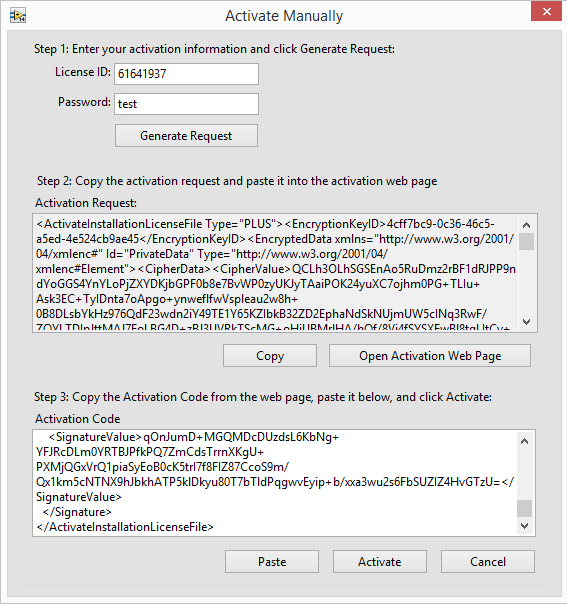
Return to the activation prompt for our Licensing Sample.
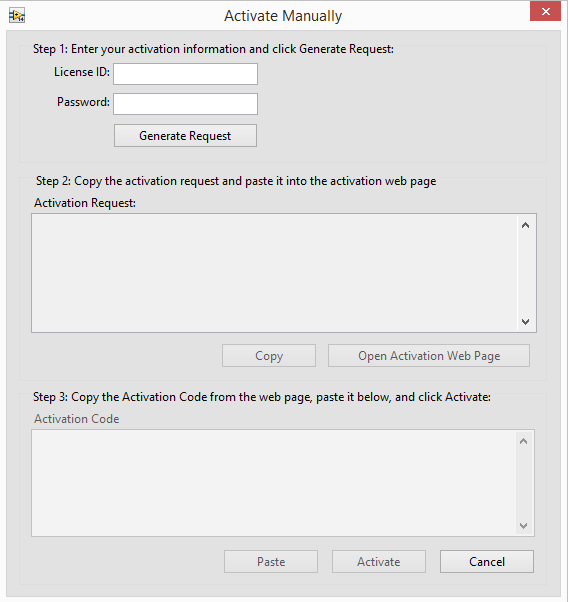
Enter the License ID and Password in their respective fields and, optionally, an Installation Name.
Click Activate to communicate with SOLO Server for license validation.
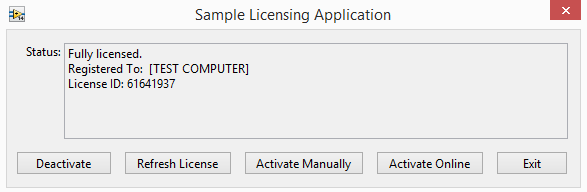
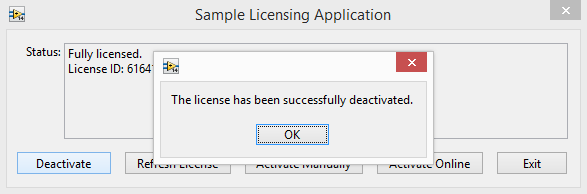
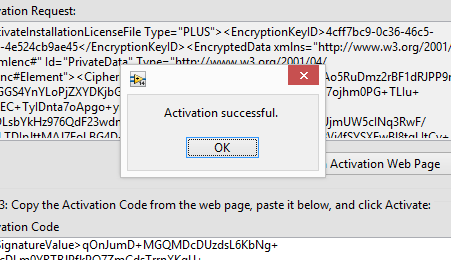
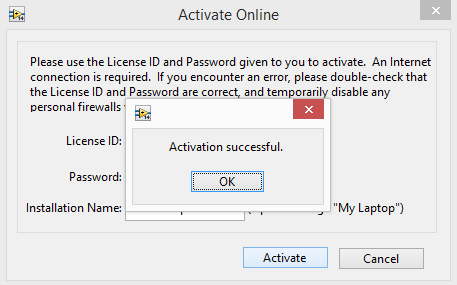
Upon successful activation, a confirmation dialog is shown. If the activation fails, please verify the information entered with the license details on SOLO Server.
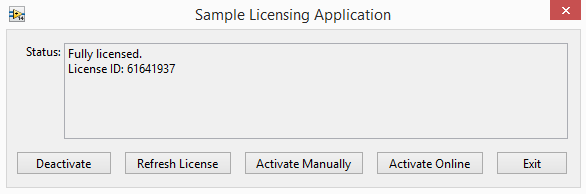
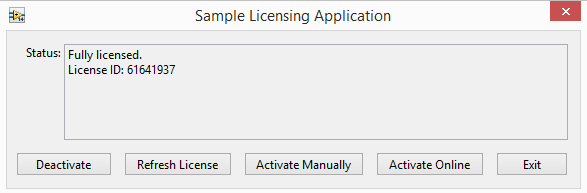
The License Status will now show as Fully Licensed.