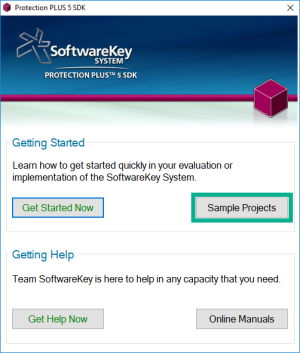
Open the PLUSManagedSamples *.sln file corresponding to your version of Visual Studio. The Samples directory can be opened by running Protection PLUS 5 SDK from your start menu/screen, and clicking on the Sample Projects button. You may then unzip the samples to a folder of your choosing.
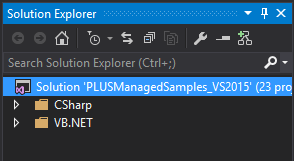
Once the project has loaded in Visual Studio, expand the programming language you wish to proceed with (C# or VB.NET).
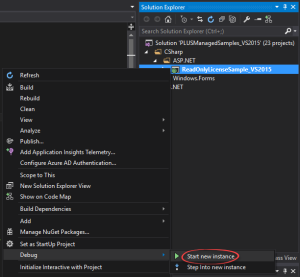
Expand the ASP.NET folder and locate the ReadOnlyLicense Sample. Right click this sample and select Debug > Start New Instance
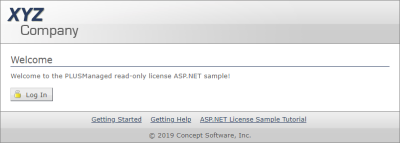
Your browser will open to the sample's company login page. Click the Log In button.
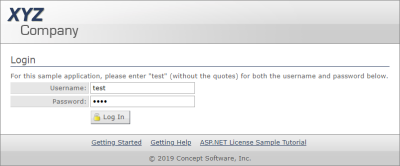
Enter the login credentials "test" (without the quotes) for both the Username and Password and click the Log In button.
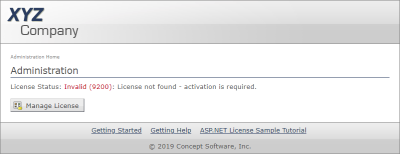
You will be taken to the Administration page and shown the license was not found, therefore an activation is required.
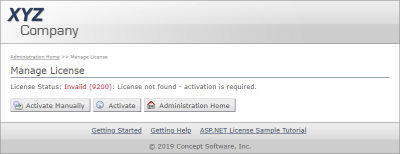
To activate the ReadOnlyLicenseSample automatically using SOLO Server, click the Manage License button to be taken to the Manage License page.
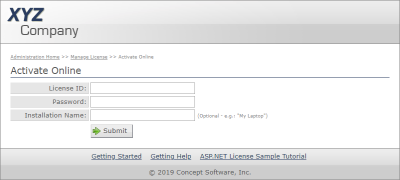
On the Manage License page click the Activate button to be taken to the Activate Online page where you are prompted for a License ID and Password (both are required). Specifying an installation name is optional, but helpful when performing multiple installations for different machines and/or users.
For ease of use, all of the Protection PLUS 5 SDK sample applications use a generic Test Author account with its own Encryption Key ID . We will use this Test Author account on SOLO Server to generate the License ID and password necessary to activate the ASP.NET ReadOnlyLicensing Sample.
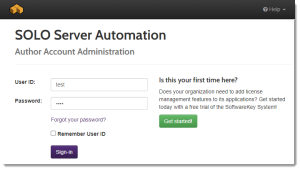
To log into SOLO Server, use the Test Author credentials:
Once logged in, go to the menu Configure / Products.
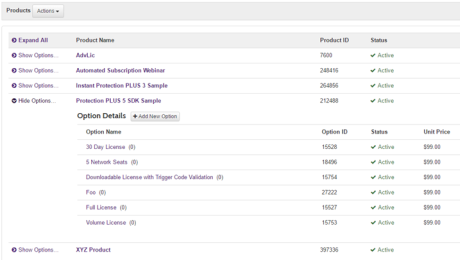
The Product List page will show all of the products available to the Test Author. Expand Show Options beside the Protection PLUS 5 SDK Sample product. The Option Details show different Product Options for activating the Licensing Sample application. For this tutorial, we will generate a license for the Full License.
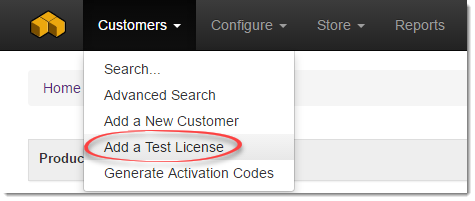
To add a test license, go to the menu Customers / Add Test License.
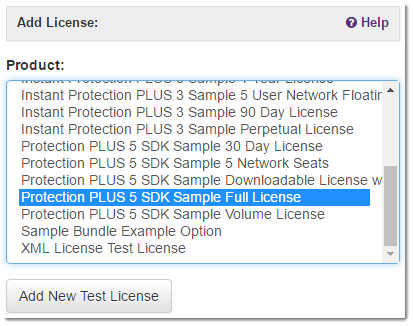
Select the Protection PLUS 5 SDK Sample Full License and click Add New Test License.
On the Add Test License page, do not change the default values and click Add License.
Test Licenses are meant for software development integration and testing purposes ONLY and should never be sent to a real customer. Test Licenses are DELETED from the license database on the first day of every month.
The test license has now been created based on the Protection PLUS 5 SDK Sample Full License Product Option settings and attached to a new, unregistered customer record.
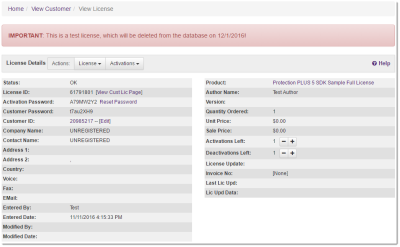
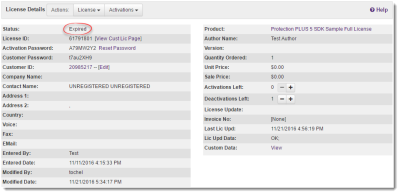
Click on the License ID in the Licenses & Other Items section to load the License Details page.
Return to the activation prompt for our ASP.NET ReadOnlyLicensing Sample. Enter the License ID and Activation Password in their respective fields and, optionally, an Installation Name. Click Submit to communicate with SOLO Server for license validation.
Upon successful activation, a confirmation message is shown. If the activation fails, please verify the information entered with the license details on SOLO Server.
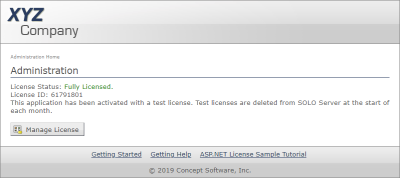
On the breadcrumb links, click on the Administration Home link and you will see the license status.
A license can be refreshed with updated information sent from SOLO Server. We can modify the license status from the License Details page on SOLO Server in order to remotely deactivate the license.
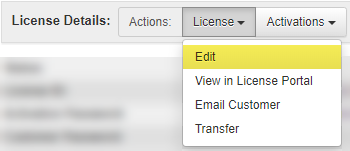
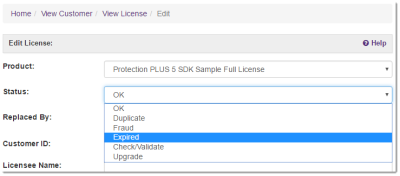
On the License Details page use the drop-down Actions: License / Edit.
Change the Status value by clicking on the drop-down and select Expired (as this is a test license there are some status values not shown, and you can click Help in the top right of the SOLO Server page to see a full list). Scroll to the bottom and click Submit.
The page returns to the License Details page. This page now displays the Status as Expired.
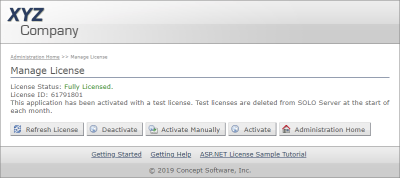
Return to the ASP.NET ReadOnlyLicense Sample and click Manage License to be taken to the Manage License page.
Click Refresh License. If the licensed successfully refreshed a message will be displayed.
Click on the Administration Home breadcrumb and you will be shown the license requires an activation.
Before proceeding with the other steps, set the status of our test license back to "OK" in SOLO Server, and refresh the license again.
Deactivating an installation disables use of the software on that device, and increments the Activations Left count of the License ID in SOLO Server, which allows the user to activate the software on a different device. The License ID also has a Deactivations Left count, which allows you to limit the number of times a customer can deactivate and transfer a license.
The Protection PLUS 5 SDK Sample Full License Product Option is configured to start with one Activation Left and one Deactivation Left. After activating in Step 2, the License ID you are using should not have any Activations Left.
Return to the ASP.NET ReadOnlyLicense Sample and click Manage License to be taken to the Manage License page.
To deactivate, click the Deactivate button. A confirmation will appear if the license was successfully deactivated.
In SOLO Server, this License ID will now have one Activation Left and zero Deactivations Left, which allows the user to activate one more time on a different computer. You can manually update the number of Activations or Deactivations on the License Details page in SOLO Server.
An installation can also be remotely deactivated through SOLO Server.
A manual activation allows you to activate a computer that does not have an Internet connection. It will create an activation request that must be transferred to another device that does have an Internet connection. The request can be a string or a file.
If you previously activated this sample application, but have not deactivated yet, please complete Step 4 before continuing.
Return to the Manage License page of the sample and click the Activate Manually button.
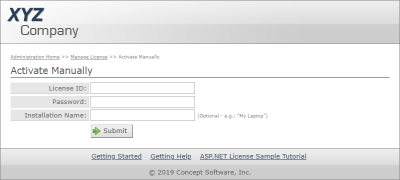
Once again enter the License ID and Password obtained from Step 2 above to generate the Activation Request.
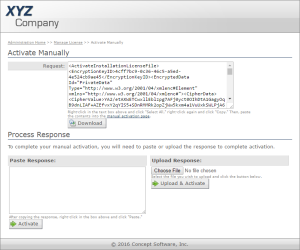
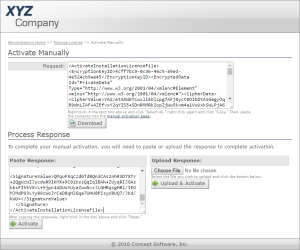
You will be shown the Activation Request page. In the Request text box will be an encrypted activation request to be processed by the activation server.
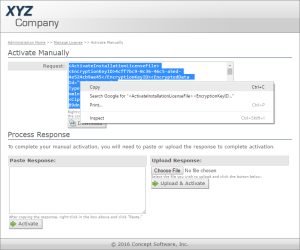
Right-click in the Request text box and click "Select All," right-click again and click "Copy" to copy the contents to your clipboard.
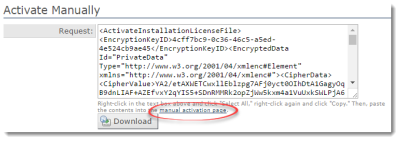
Click the "manual activation page" link on the page to be taken to the License Portal.
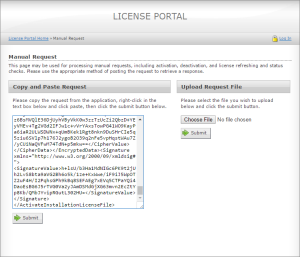
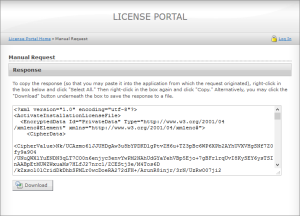
This web page is accessible from another computer with access to the Internet in the event that an offline workstation needed to be activated. Once you arrive to the License Portal page, paste the encrypted activation request data, and click Submit.
The License Portal will now generate an encrypted response. Copy this data to your clipboard.
Return to the Activate Manually page and paste the encrypted response into the Process Response text box and click Activate.
Upon successful activation, a confirmation is shown. If the activation fails, please verify the information entered with the license details on SOLO Server.
The License Status will now show as Fully Licensed.