This tutorial can use the ReadOnlyLicense, SelfSignedLicense, or SelfSignedTrial sample project. There will be differences in the license and feature statuses since the SelfSigned samples start up as an evaluation/trial with all features enabled, but the other functionality is the same.
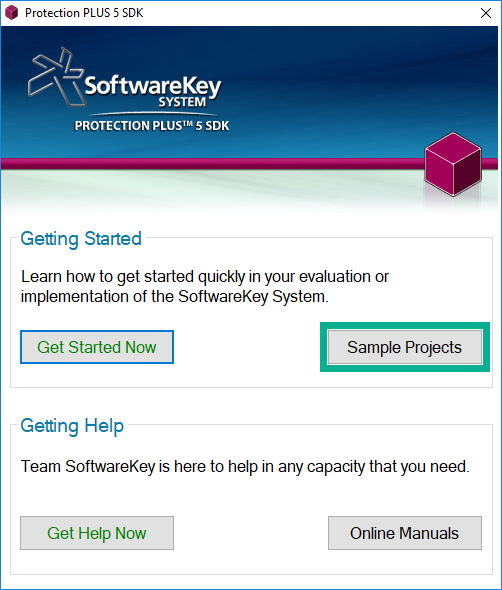
Open the PLUSManagedSamples *.sln file corresponding to your version of Visual Studio. The Samples directory can be opened by running Protection PLUS 5 SDK from your start menu/screen, and clicking on the Sample Projects button. You may then unzip the samples to a folder of your choosing.
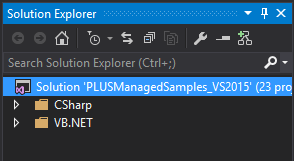
Once the project has loaded in Visual Studio, expand the programming language you wish to proceed with (C# or VB.NET).
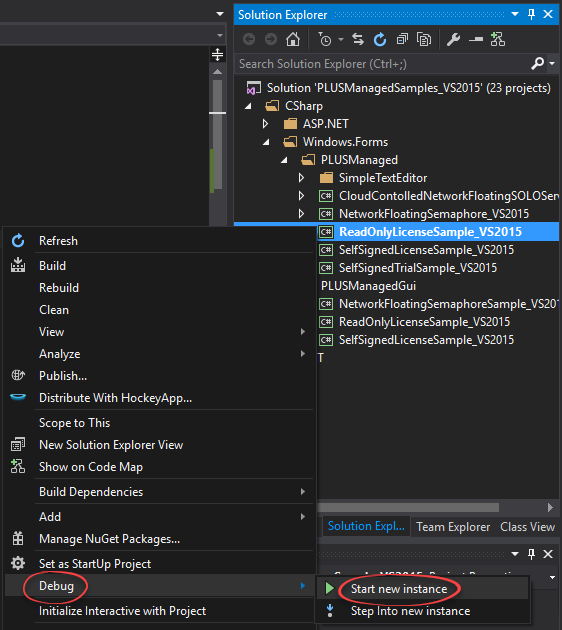
Expand the Windows.Forms folder and PLUSManaged folder. Locate the ReadOnlyLicense Sample.
Right click this sample and select Debug > Start New Instance.
Alternatively, run the SelfSignedLicense or SelfSignedTrial sample.
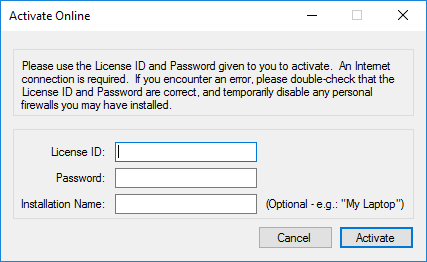
To activate the Sample Licensing Application automatically using SOLO Server, click on Activate / Activate Online. A new dialog will prompt for a License ID and Password (both are required). Specifying an installation name is optional, but helpful when performing multiple installations for different machines and/or users.
For ease of use, all of the Protection PLUS 5 SDK sample applications use a generic Test Author account with its own Encryption Key ID . We will use this Test Author account on SOLO Server to generate the License ID and password necessary to activate the Licensing Sample.
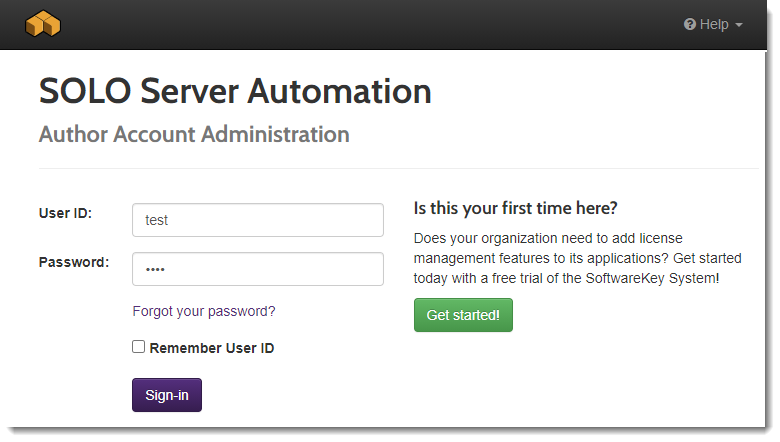
To log into SOLO Server, use the Test Author credentials:
- User ID: test
- Password: test
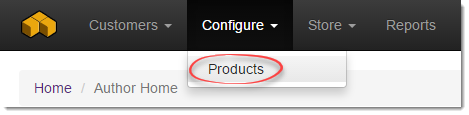
Once logged in, go to the menu Configure / Products.
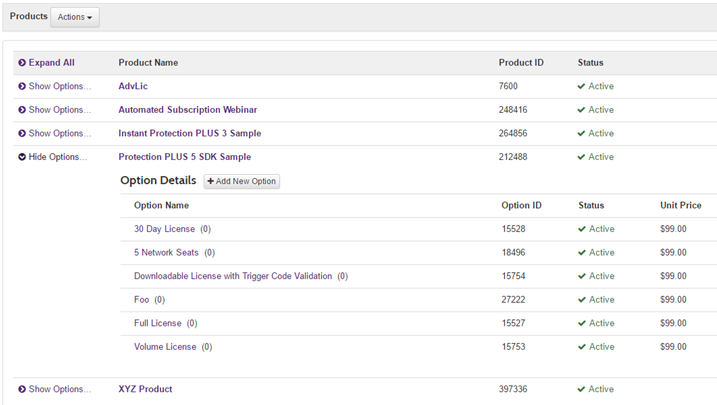
The Product List page will show all of the products available to the Test Author. Expand Show Options beside the Protection PLUS 5 SDK Sample product. The Option Details show different Product Options for activating the Licensing Sample application. For this tutorial, we will generate a license for the Full License.
Creating the License
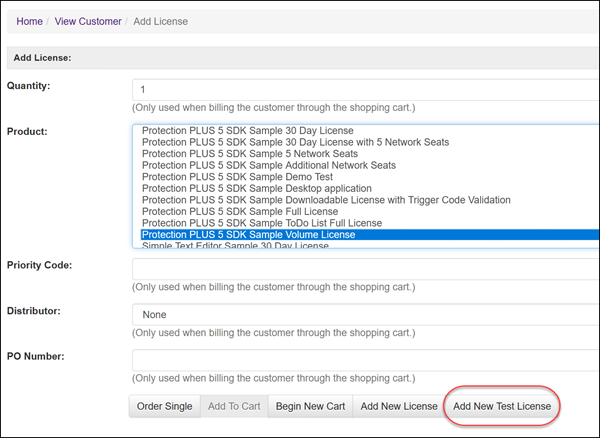
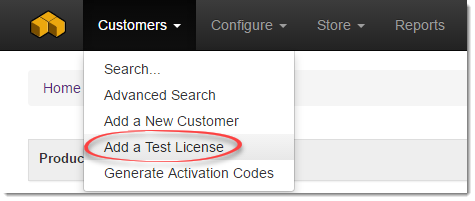
To add a test license, go to the menu Customers / Add Test License.
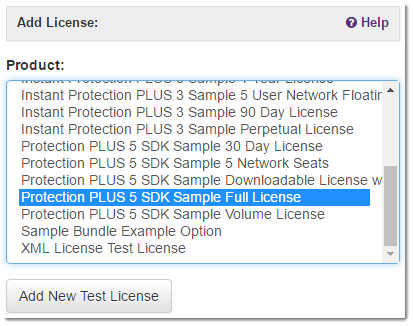
Select the Protection PLUS 5 SDK Sample Full License and click Add New Test License.
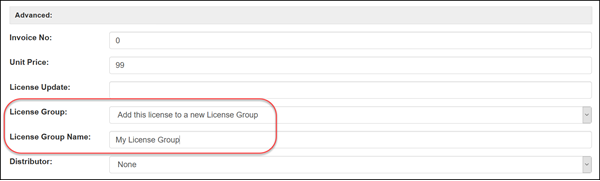
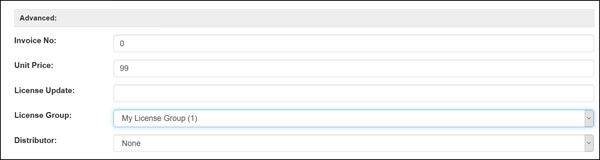
On the Add Test License page, do not change the default values and click Add License.
Test Licenses are meant for software development integration and testing purposes ONLY and should never be sent to a real customer. Test Licenses are DELETED from the license database on the first day of every month.
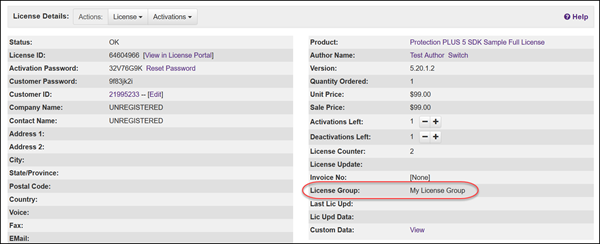
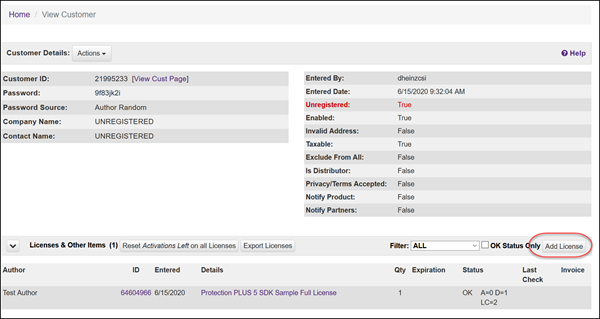
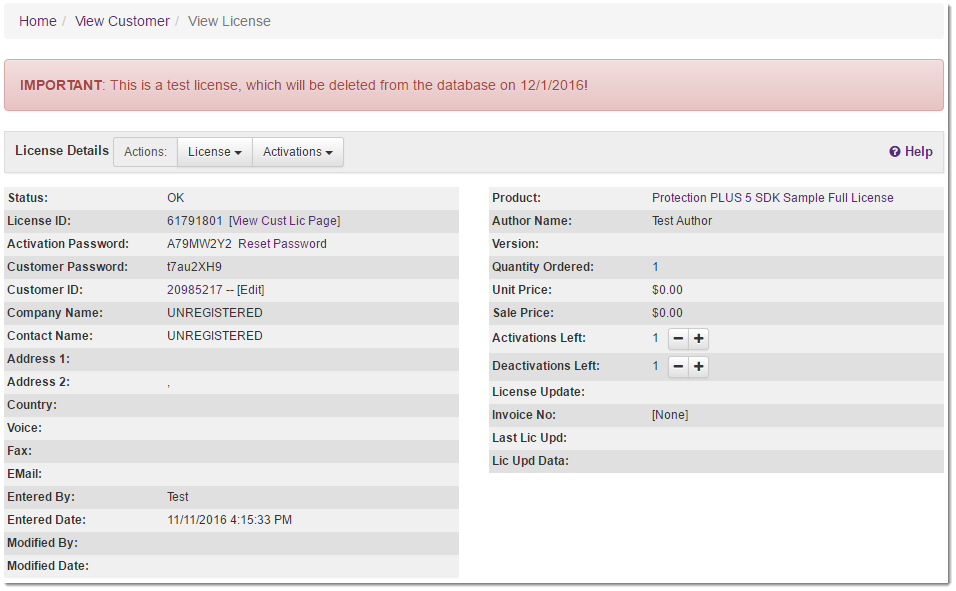
The test license has now been created based on the Protection PLUS 5 SDK Sample Full License Product Option settings and attached to a new, unregistered customer record.
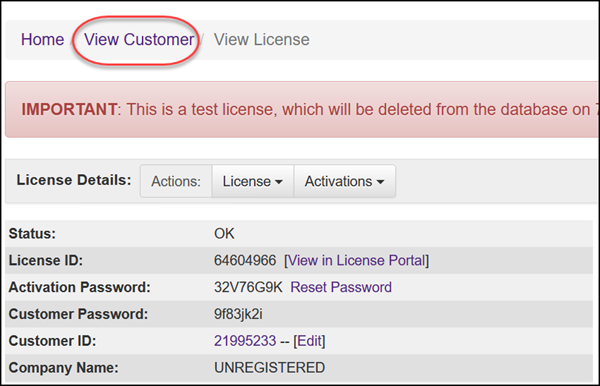
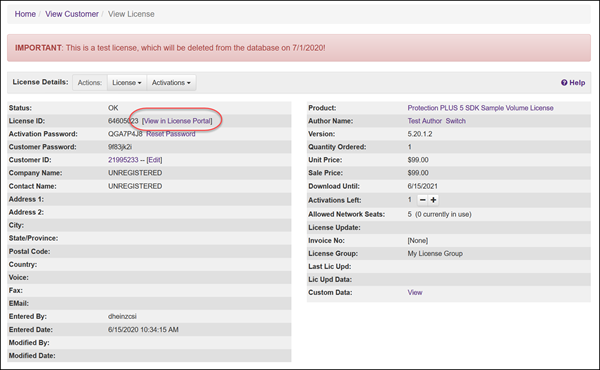
Click on the License ID in the Licenses & Other Items section to load the License Details page.
Activating with the License
Return to the activation prompt for our Licensing Sample.
Enter the License ID and Activation Password in their respective fields and, optionally, an Installation Name.
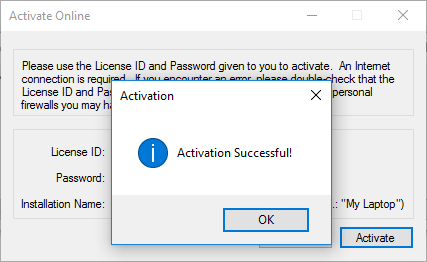
Click Activate to communicate with SOLO Server for license validation.
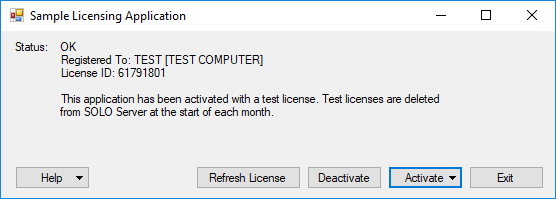
Upon successful activation, a confirmation dialog is shown. If the activation fails, please verify the information entered with the license details on SOLO Server.
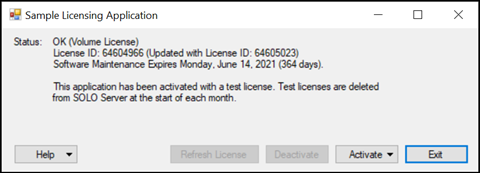
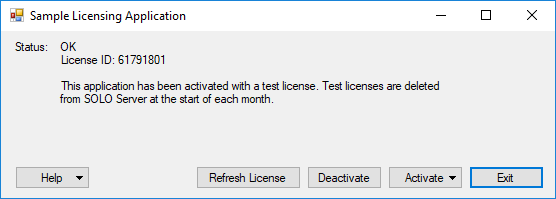
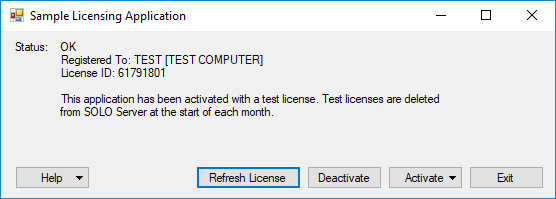
The License Status will now show as OK.
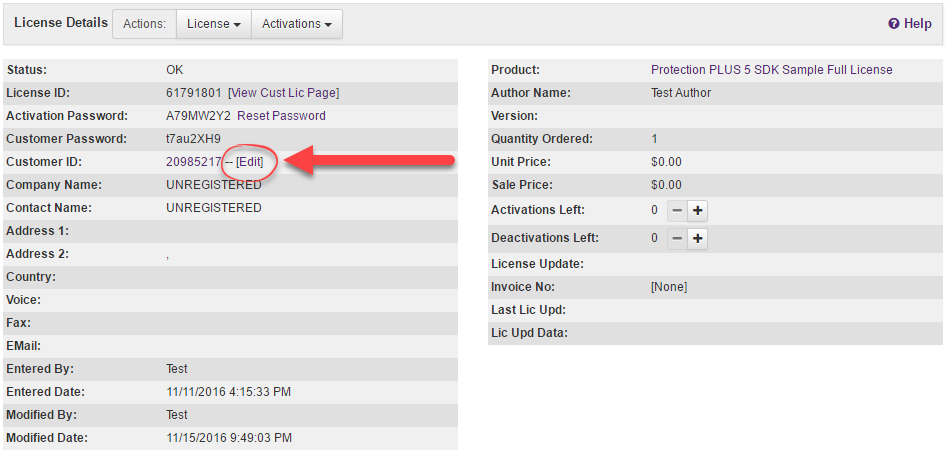
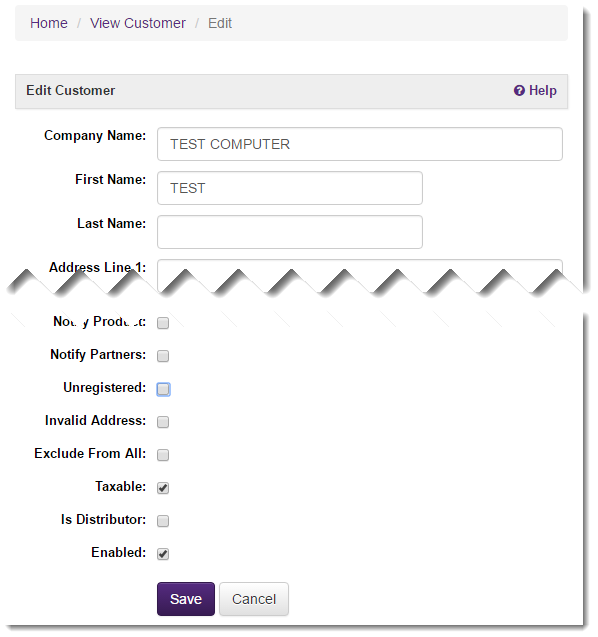
A license can be refreshed with updated information sent fromSOLO Server. We can modify customer details from the License Details page on SOLO Server. On the License Details page, click Edit, located to the right of the Customer ID.
Modify the Company Name and additional fields as you please. Uncheck the check box setting to the right of Unregistered. Scroll to the bottom and click Save.
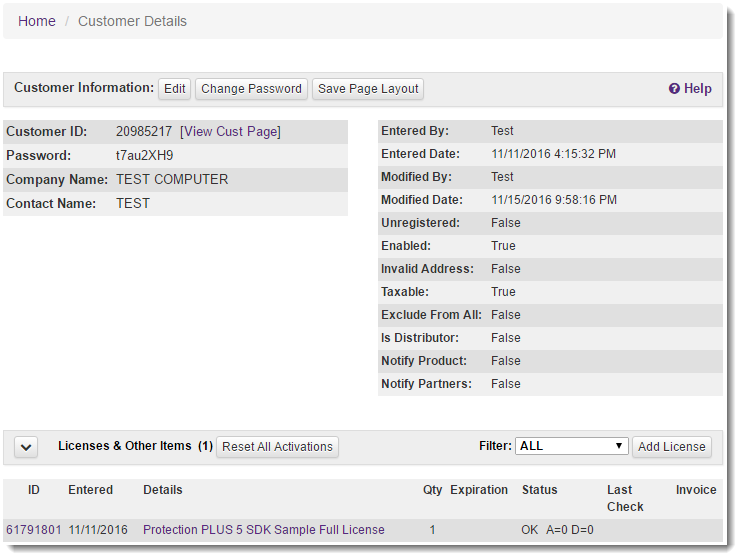
After the Customer Details have been saved, the page returns to the Customer Information page. This page includes customer details we have edited in addition to licenses and previous orders.
Return to the Licensing Sample Main Dialog to proceed with a license refresh. Click Refresh License. If the licensed successfully refreshed, the License Status will now update with the modified customer details.
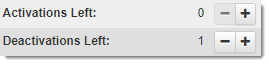
Deactivating an installation disables use of the software on that device, and increments the Activations Left count of the License ID in SOLO Server, which allows the user to activate the software on a different device. The License ID also has a Deactivations Left count, which allows you to limit the number of times a customer can deactivate and transfer a license.
The Protection PLUS 5 SDK Sample Full License Product Option is configured to start with one Activation Left and one Deactivation Left. After activating in Step 2, the License ID you are using should not have any Activations Left.
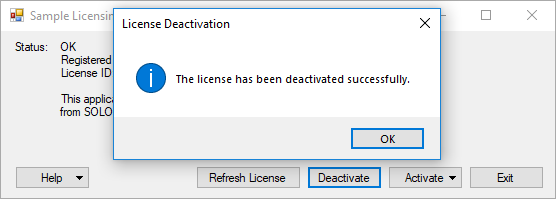
To deactivate, click the Deactivate button. A confirmation will appear if the license was successfully deactivated.
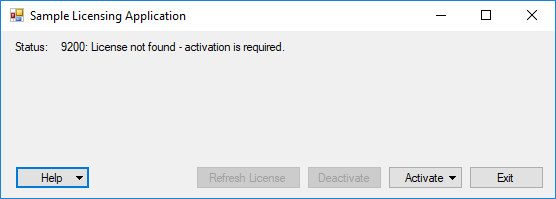
When using the ReadOnlyLicense sample, the License Status will now show "9200: License not found – activation is required."
When using the SelfSignedLicense or SelfSignedTrial sample, the License Status will *aftershow "9203: License invalid or expired."
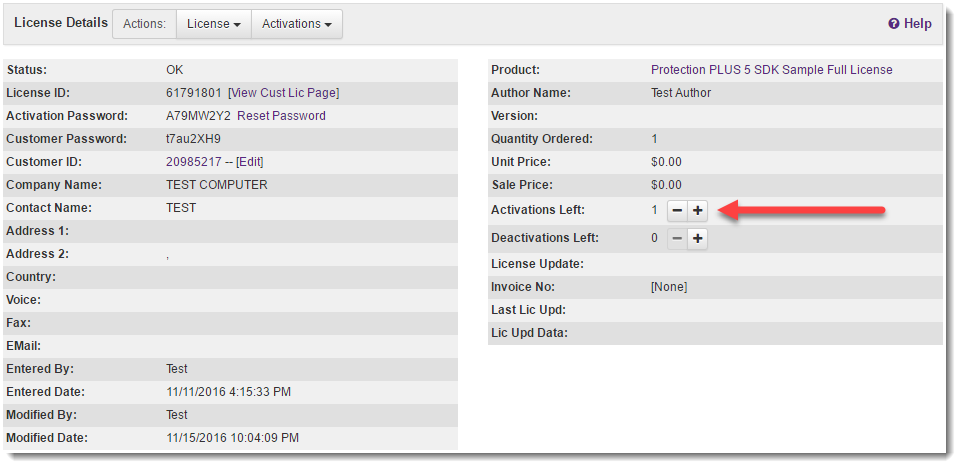
In SOLO Server, this License ID will now have one Activation Left and zero Deactivations Left, which allows the user to activate one more time on a different computer. You can manually update the number of Activations or Deactivations on the License Details page in SOLO Server.
An installation can also be remotely deactivated through SOLO Server.
A manual activation allows you to activate a computer that does not have an Internet connection. It will create an activation request that must be transferred to another device that does have an Internet connection. The request can be a string or a file.
If you previously activated this sample application, but have not deactivated yet, please complete Step 4 before continuing.
Click Activate / Activate Manually to proceed with testing a manual activation.
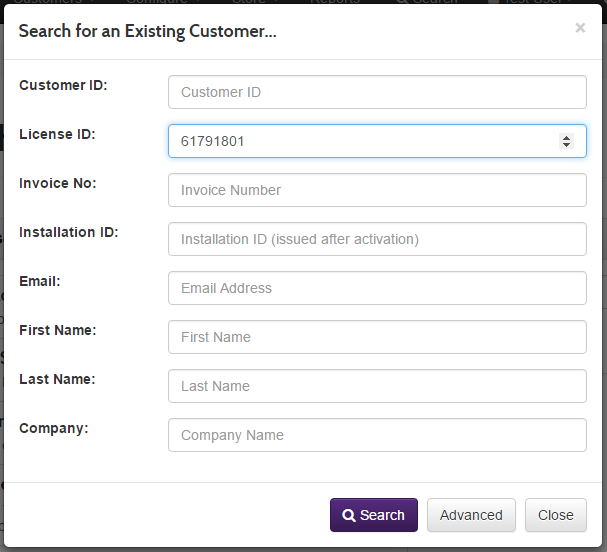
Return to SOLO Server using the Test Author account. Use the Search menu to perform a quick search for the License ID previously used to activate online (If you no longer have this number, proceed to create a new License ID as shown in Step # 2).
When we clicked on deactivate license in the previous step, SOLO Server automatically incremented the amount of activations left by 1. If you need to manually increase the number of activations left, you can increment this number by clicking the + button to the right of the Activations Left field.
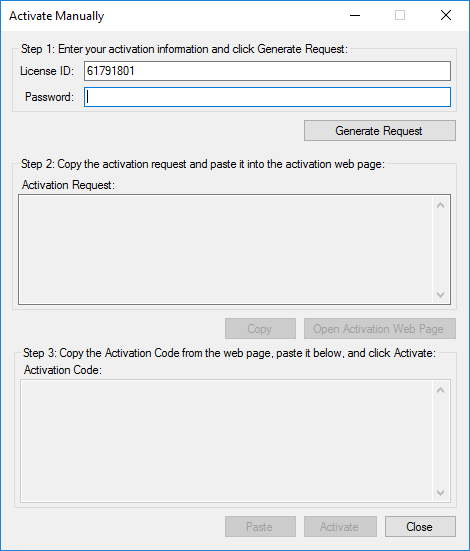
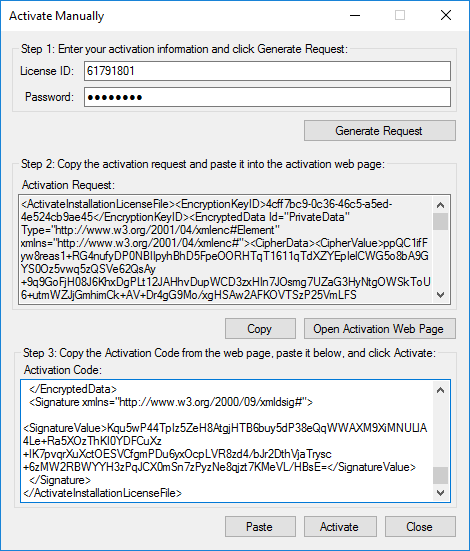
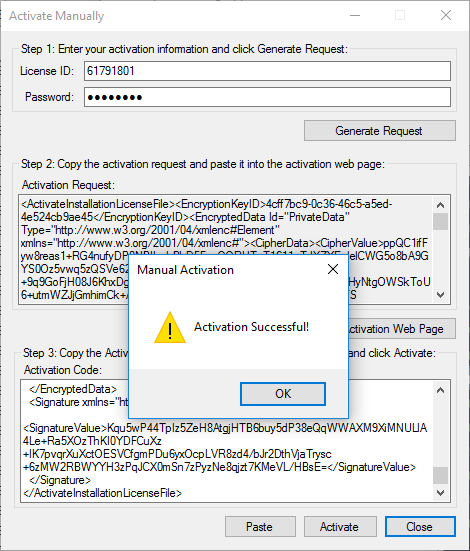
Return to the Activate Manually dialog for our Licensing Sample. Enter the License ID and Password in their respective fields and click Generate Request.

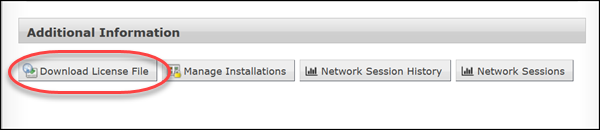
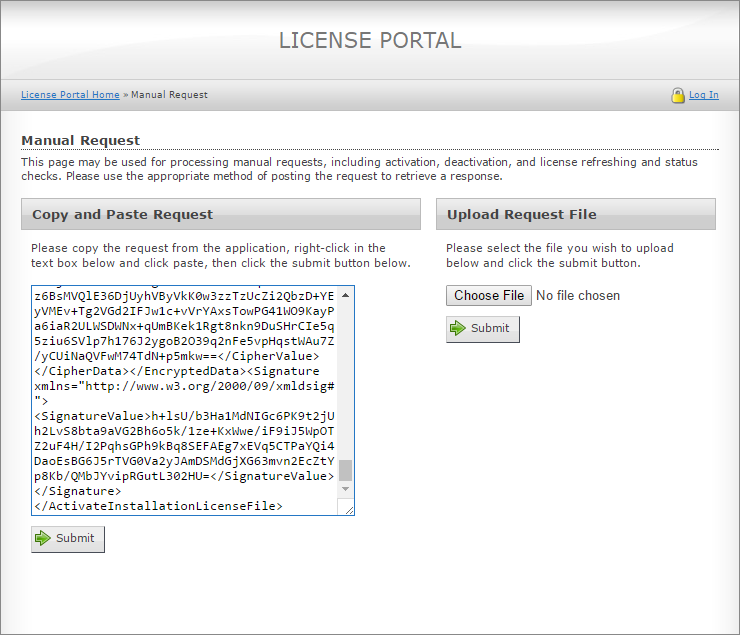
This dialog will generate an encrypted activation request to be processed by the activation server. Click Copy to copy this data to the clipboard. Next, click Open Activation Web Page. This web page is accessible from another computer with access to the Internet in the event that an offline workstation needed to be activated. Once you arrive to the License Portal page, paste the encrypted activation request data, and click Submit.
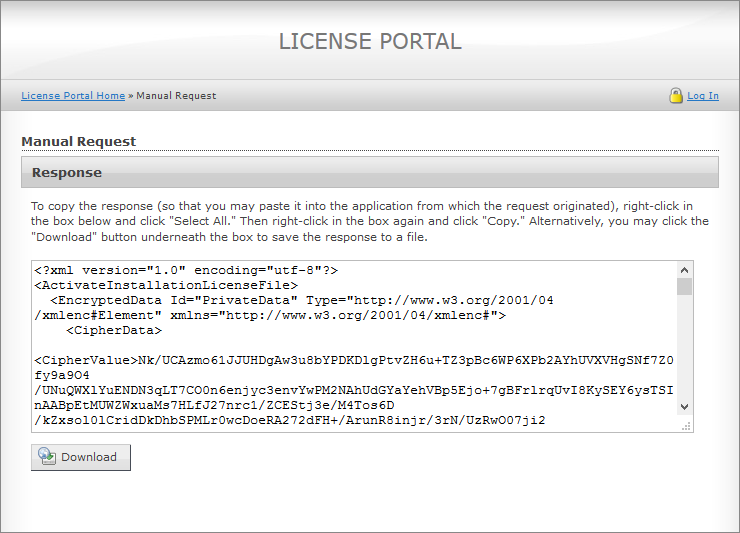
The License Portal will now generate an encrypted response. Copy this data to later paste in the Activation Code field of the activation window.
Return to the activation window and paste the encrypted response into the Activation Code field and click Activate.
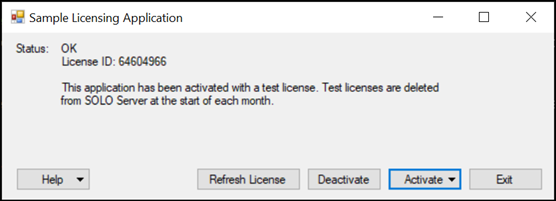
Upon successful activation, a confirmation dialog is shown. If the activation fails, please verify the information entered with the license details on SOLO Server.
The License Status will now show as OK.