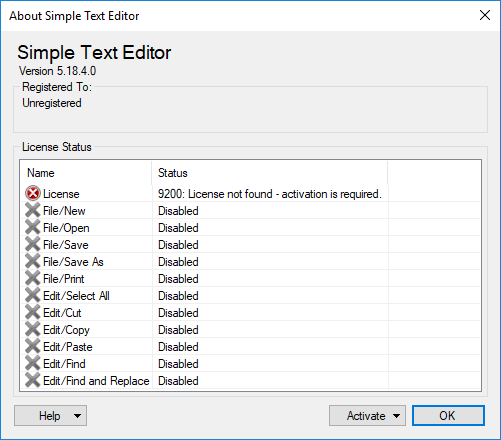
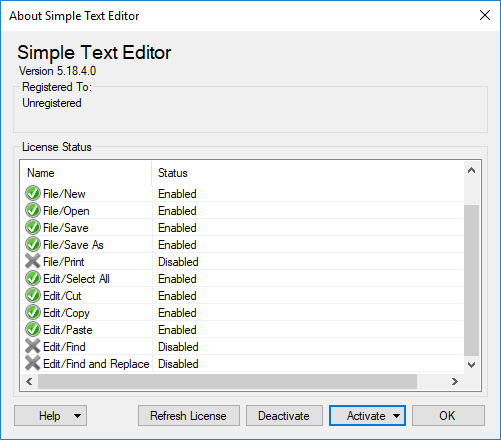
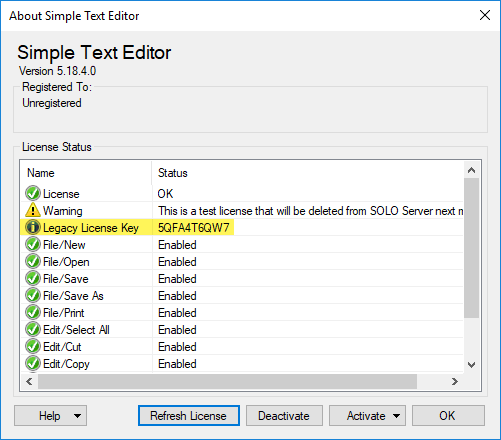
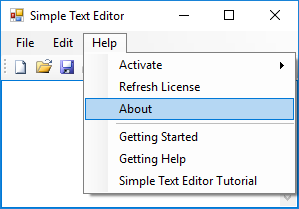
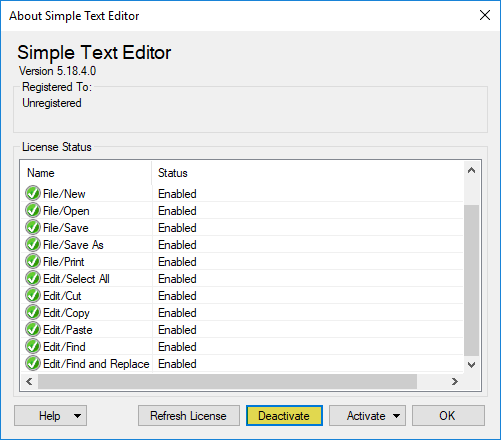
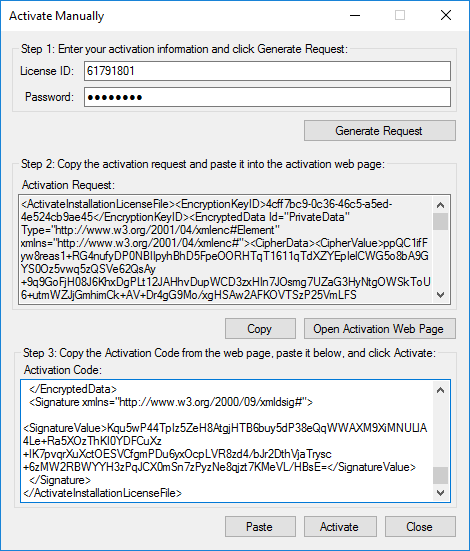
Upon launching, the Simple Text Editor will show the current license status along with the features that are enabled or disabled. To activate the application automatically using SOLO Server, click Activate Online. A new dialog will prompt for a License ID and Activation Password (both are required).
The screenshot below reflects the status from the ReadOnlyLicense sample or the SelfSignedLicense sample.
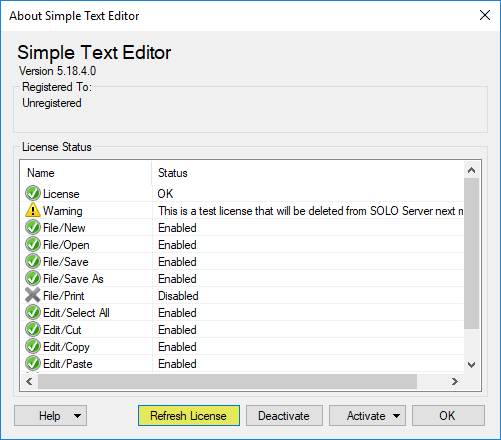
The screenshot below reflects the status from the SelfSigned or SelfSignedTrial Sample. The license status is an evaluation/trial and all features are enabled until the evaluation has expired. The user can still activate with a license at any time.
For ease of use, all of the Protection PLUS 5 SDK sample applications use a generic Test Author account with its own Encryption Key ID. We will use this Test Author account on SOLO Server to generate the License ID and Activation Password necessary to activate the Simple Text Editor Sample.
To log into SOLO Server, use the Test Author credentials:
- Login ID: test
- Password: test
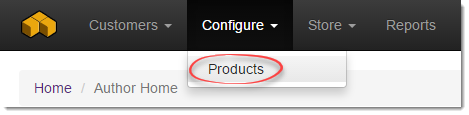
Once logged in, go to the menu Configure / Products.
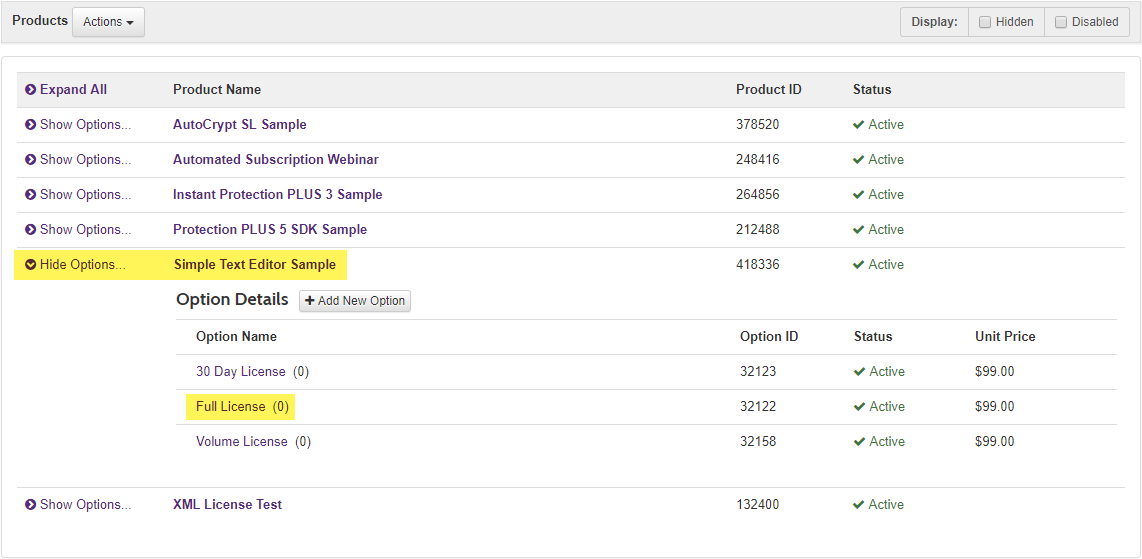
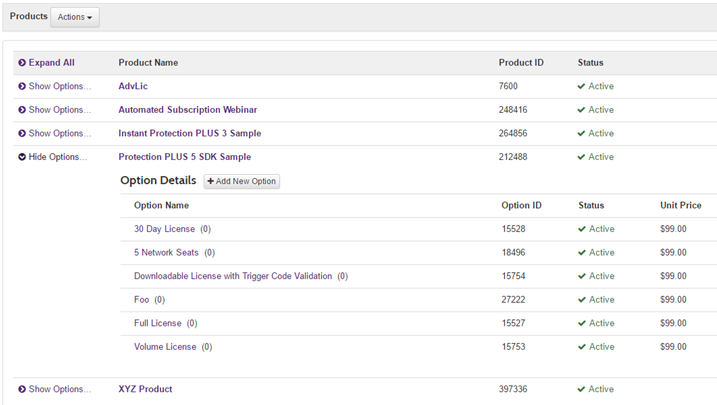
The Product List page will show all of the products available to the Test Author. Expand "Show Options" beside the Simple Text Editor Sample product. The Option Details show different Product Options (license types) for activating the Simple Text Editor Sample application. This is where predefined license settings and data can be configured for each Option.
For this tutorial, we will not be adjusting any Option settings, but we will generate a license from theFull License Option. To create Products and Options on your own SOLO Server account, refer to the Product Configuration topic.
Creating the License
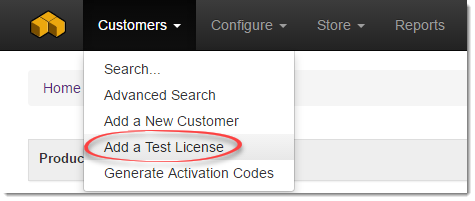
To add a test license, go to the menu Customers / Add Test License.
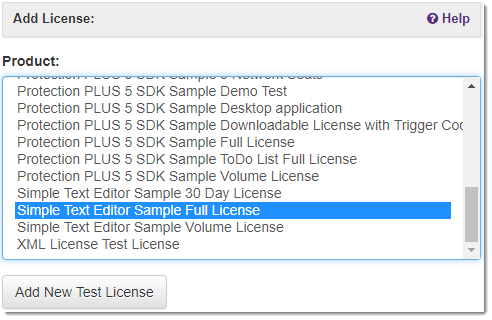
Select Simple Text Editor Sample Full License and click Add New Test License.
On the Add Test License page, do not change the default values and click Add License.
Test Licenses are meant for software development integration and testing purposes ONLY and should never be sent to a real customer. Test Licenses are DELETED from the license database on the first day of every month.
The test license has now been created based on the Simple Text Editor Sample Full License Product Option settings and attached to a new, unregistered customer record.
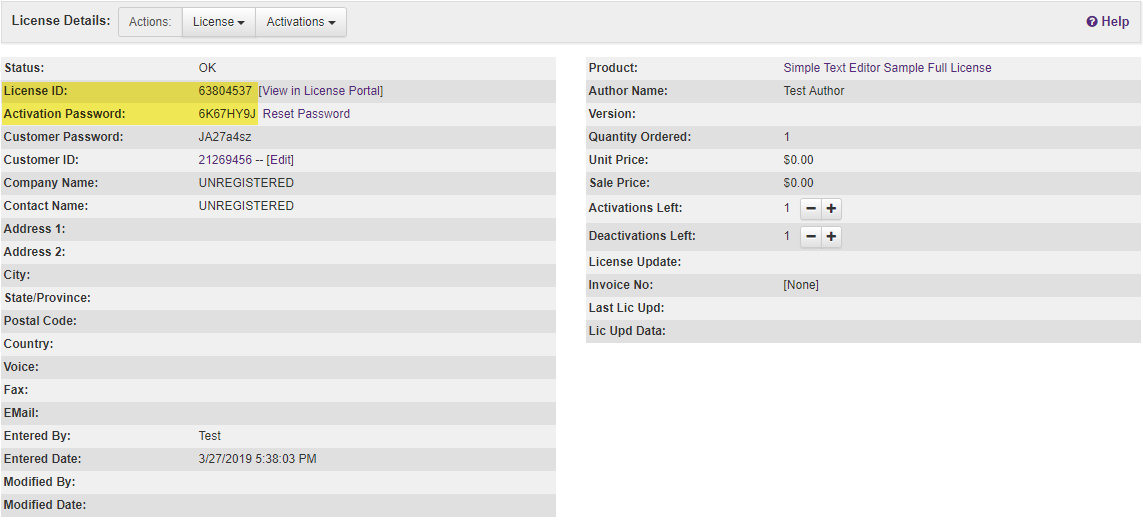
Click on the License ID in the Licenses & Other Items section to load the License Details page.
The license has a unique License ID and Activation Password. Keep track of this License ID, as it will be used throughout the rest of this tutorial.
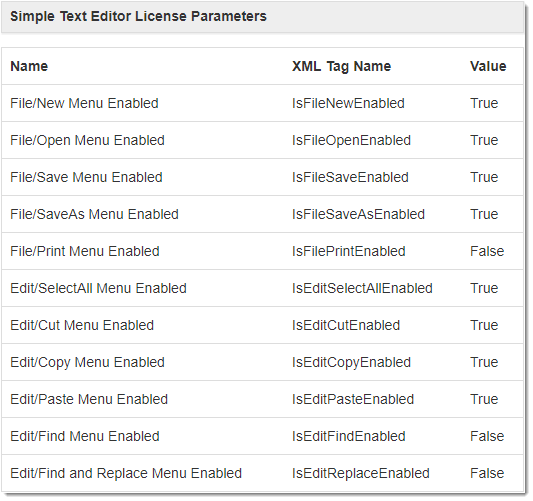
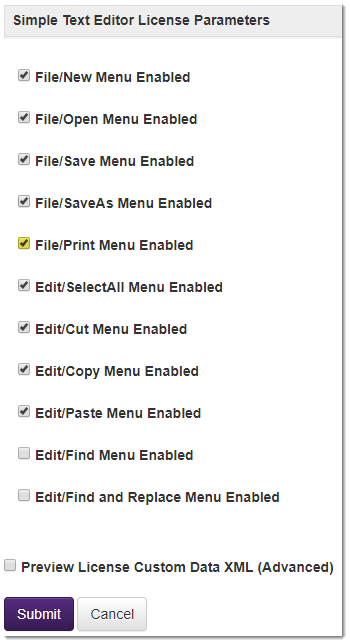
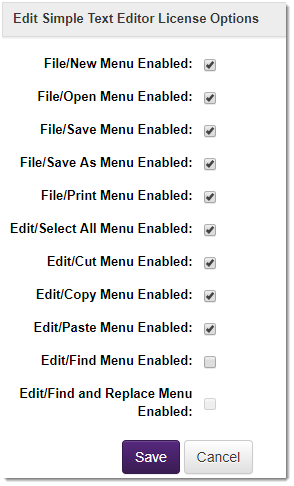
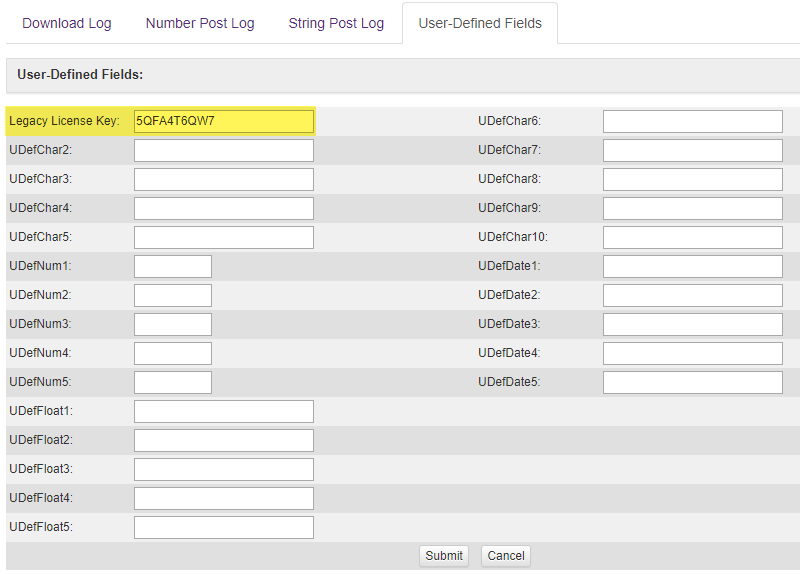
In the Simple Text Editor License Parameters section, there is a list of parameters, which was assigned in the Product Option setting using a Custom Parameter Set. A custom parameter set makes it easier to set and update custom license data, and that data is then serialized to XML and stored in the License CustomData field.
In the Simple Text Editor Sample application, the custom parameters are being used to enable or disable the use of menu options and buttons. By default, this particular custom parameter set is configured to enable all the parameters except for Print, Find and Replace.
Activating with the License
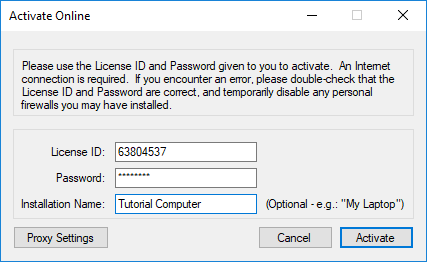
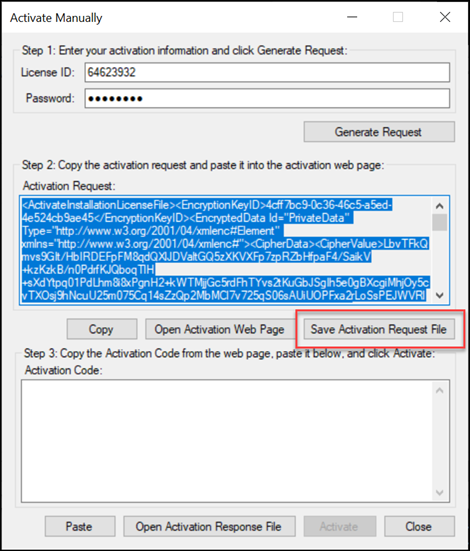
Return to the Simple Text Editor Sample and click Activate Online. Enter the License ID and Activation Password in their respective fields and, optionally, an Installation Name. Specifying an installation name is optional, but helpful when performing multiple installations for different machines and/or users.
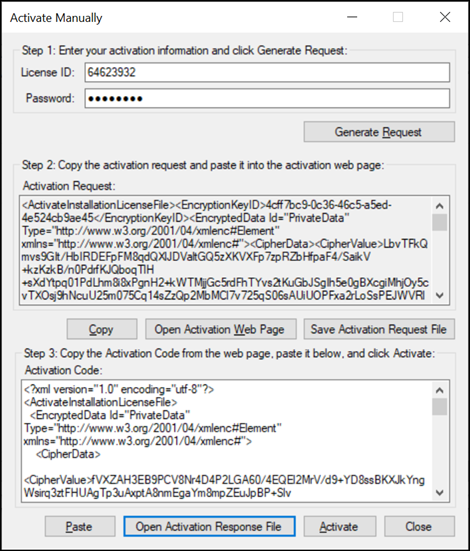
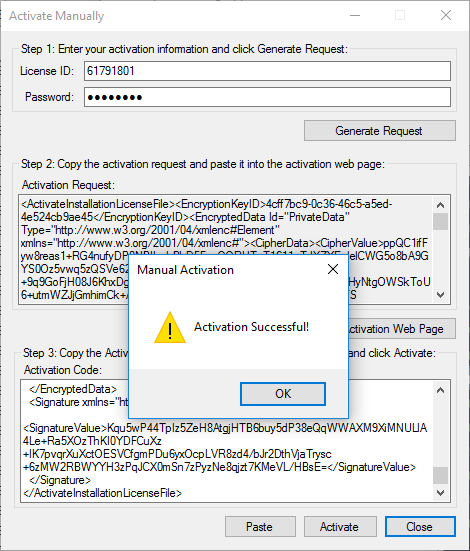
Click Activate to perform an online activation with SOLO Server.
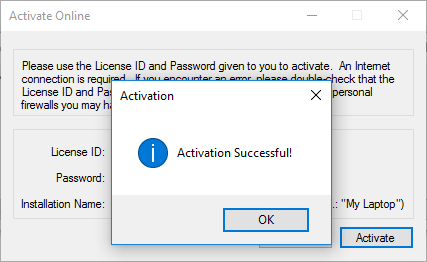
Upon successful activation, a confirmation dialog is shown. If the activation fails, please verify the information entered with the license details in SOLO Server.
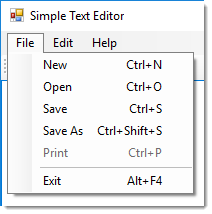
The License Status will now show as OK, as the menu options will be enabled based on the CustomData values.
You will see that the Print menu option and button are disabled in Simple Text Editor.
This same concept can be applied to any feature or functionality in your own application.

